Plan Your Trip with Google Maps
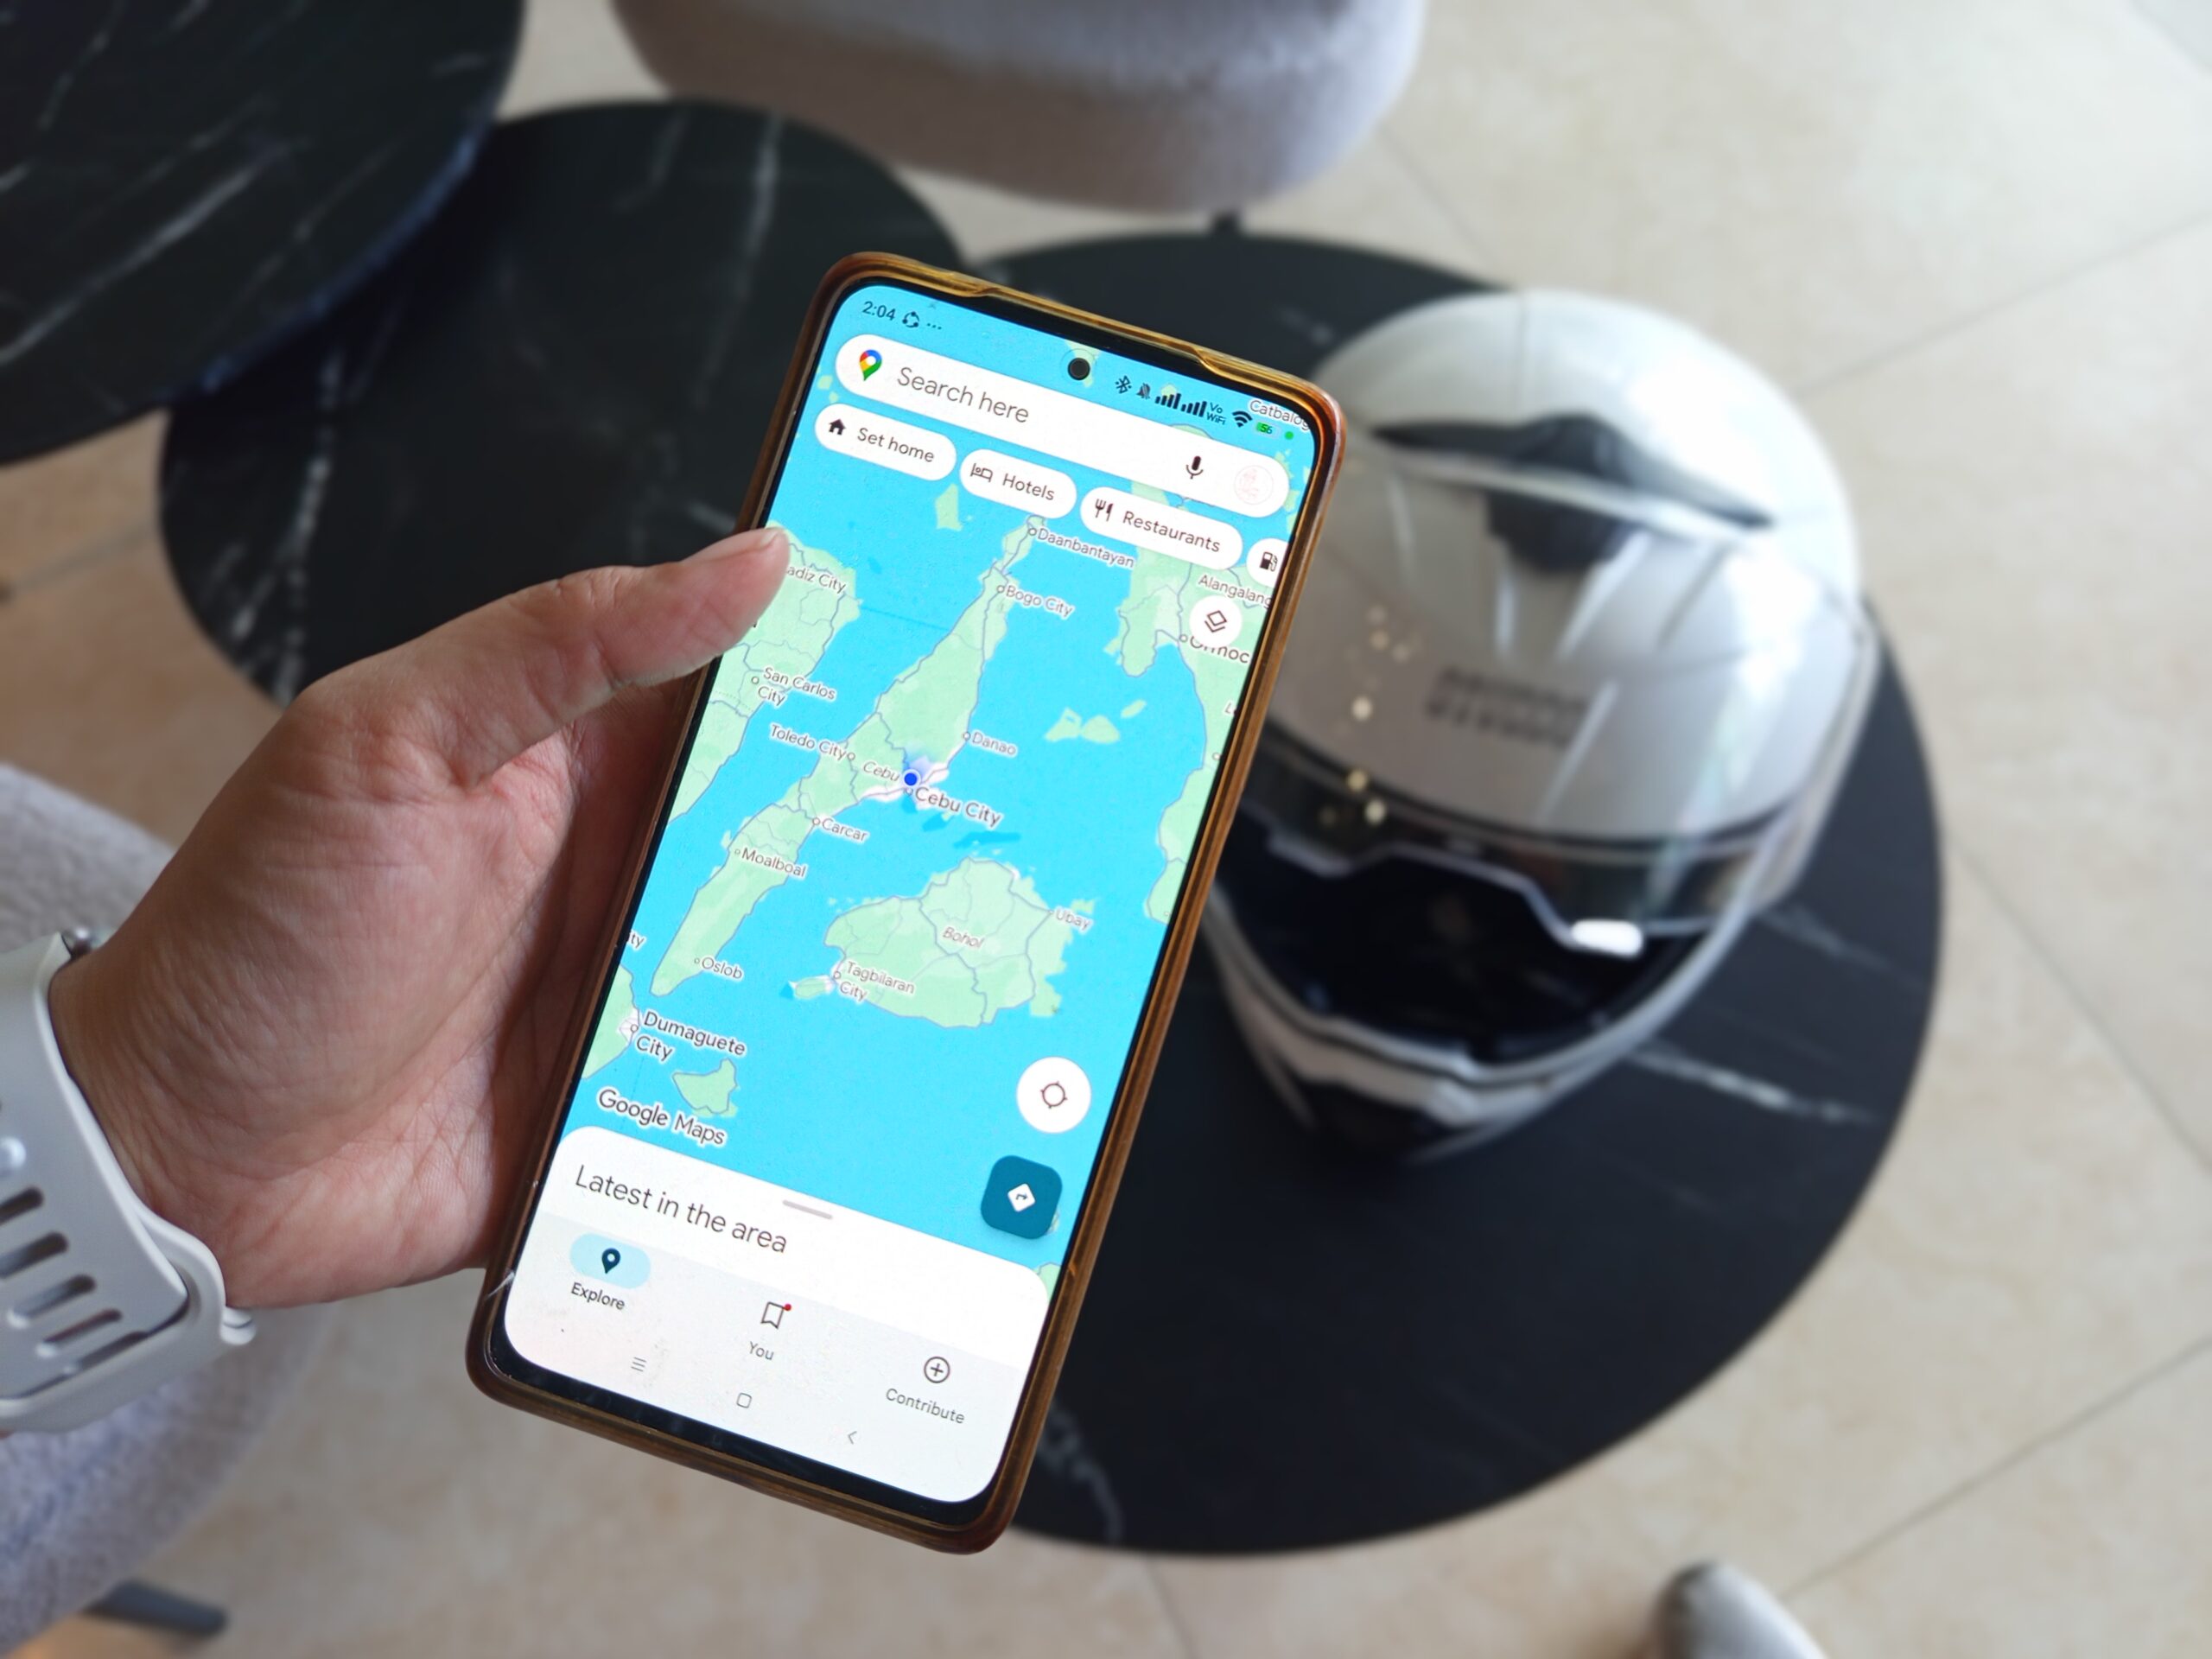
Every great trip starts with great planning. But gone are the days of paper maps and handwritten directions. If you’re looking for a modern, stress-free way to prepare for your next adventure, Google Maps offers everything you need in one place. Whether you’re traveling locally or internationally, this free and powerful tool can help you build a custom itinerary, explore destinations, and stay organized—all with just your phone or laptop.
In this guide, you’ll learn how to plan your trip with Google Maps, including expert tips and little-known features that can make your travel smoother, smarter, and more enjoyable.
Why Google Maps Is a Traveler’s Best Friend
Google Maps is much more than a navigation app. It serves as a:
- Digital itinerary builder
- Personalized guidebook
- Offline map storage
- Route optimizer
- Collaboration tool for groups
And the best part? It’s free, reliable, and already installed on most devices. It’s time to plan your trip with Google Maps.
Step 1: Start by Pinning Your Main Destination
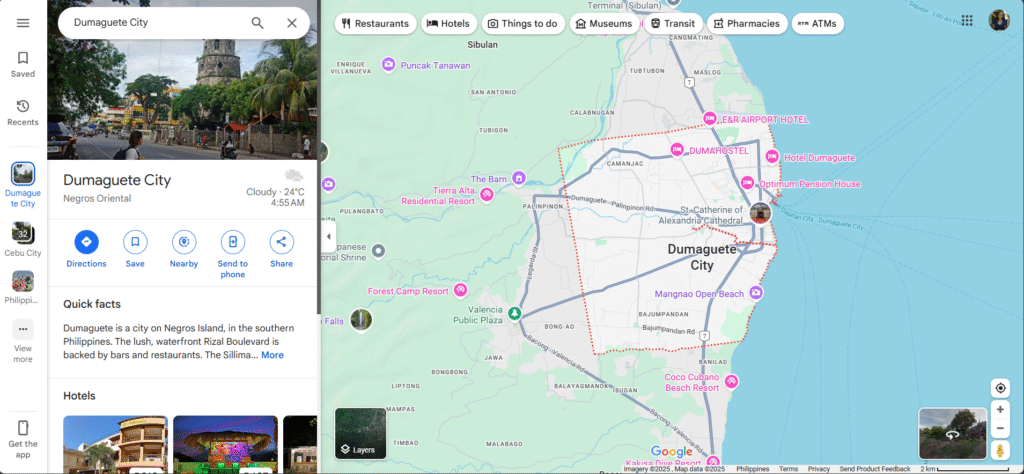
Begin your planning by entering your trip’s primary location into Google Maps—for example, “El Nido, Palawan.” Once it appears on the map, tap “Save” and choose a list such as “Want to Go” or create a custom one like “Palawan Adventure.”
This becomes your home base for researching nearby activities and attractions when you plan your trip with Google Maps.
Step 2: Find and Save Nearby Attractions
Next, explore points of interest around your main destination when you plan your trip with Google Maps:
- Type in terms like “waterfalls,” “local food,” or “cultural sites.”
- Use the “Explore” tab for suggestions.
- Tap on locations that interest you and select “Save” to add them to your list.
Make different lists to categorize places—for instance, “Food Spots,” “Outdoor Activities,” or “Museums to Visit.” This makes your itinerary more flexible and organized.
Step 3: Use the Directions Feature to Plan Your Daily Routes
To get from one place to another efficiently, click the “Directions” icon.
- Input your starting point.
- Add your first destination.
- Click “Add stop” to create a multi-stop route.
- Drag and reorder the stops based on proximity or importance.
Google Maps will estimate travel times based on real-time conditions. It’s especially helpful when deciding which destinations to group together on the same day.
Step 4: Preview Routes with Street View
Worried about getting lost or unsure what the area looks like? Use Street View to check out:
- The front of your hotel
- Scenic routes
- Surrounding neighborhoods
- Entrance points to attractions
Just drag the Street View icon onto any highlighted road. It’s like virtually walking around before you even pack your bags.
Step 5: Download Offline Maps Before You Travel
Connectivity is not always guaranteed when you plan your trip with Google Maps, especially when you’re traveling in rural areas or abroad. Google Maps lets you download maps so you can access them without internet.
To do this:
- Open the app.
- Tap your profile picture.
- Select Offline Maps > Choose Your Own Map.
- Zoom in on your destination and download the area.
Offline maps include your saved places and routes—perfect for remote islands or mountain trips.
Step 6: Create Custom Labels for Personal Landmarks
Google Maps allows you to label any spot. Use this feature to:
- Mark your hotel or Airbnb
- Identify pick-up points for tours
- Label good photo locations
- Flag parking spots or entrances
To label a place, long-press on the map and tap “Label.” These appear on your map like pins and make navigation easier during your actual trip.
Step 7: Collaborate with Friends and Family
Traveling with a group? Planning together just got easier when you plan your trip with Google Maps.
- Share your map lists with others.
- Let people suggest spots by making the list collaborative.
- Create a shared route map using Google My Maps (a separate tool) if you want full customization.
This way, everyone knows the plan and can contribute ideas in one place.
Step 8: Schedule Activities Using Google Calendar
Take it one step further by linking places to your Google Calendar:
- Create an event (e.g., “Visit Kawasan Falls at 9 AM”).
- Add the address and any notes.
- Set a reminder so you’re always on schedule.
Google Maps will automatically pull up your event’s location when the time comes—no need to retype addresses or search again.
Bonus Tips to Maximize Google Maps for Travel
Here are some lesser-known but powerful tips:
⭐ Use “Your Timeline” Feature
See where you’ve been each day. It’s great for documenting your trip and tracking movement.
⭐ Check Business Hours and Peak Times
Each listing usually shows opening times and busy hours. Avoid crowds by visiting during off-peak hours.
⭐ Read Local Reviews
Reviews often contain gold—like hidden menu items, less-known hiking paths, or which attractions are overpriced.
Travel Smarter, Not Harder
Google Maps takes the guesswork out of trip planning. It’s your map, guide, and travel journal all rolled into one. By saving locations, planning routes, and downloading maps in advance, you’ll be free to enjoy your trip without stress or confusion.
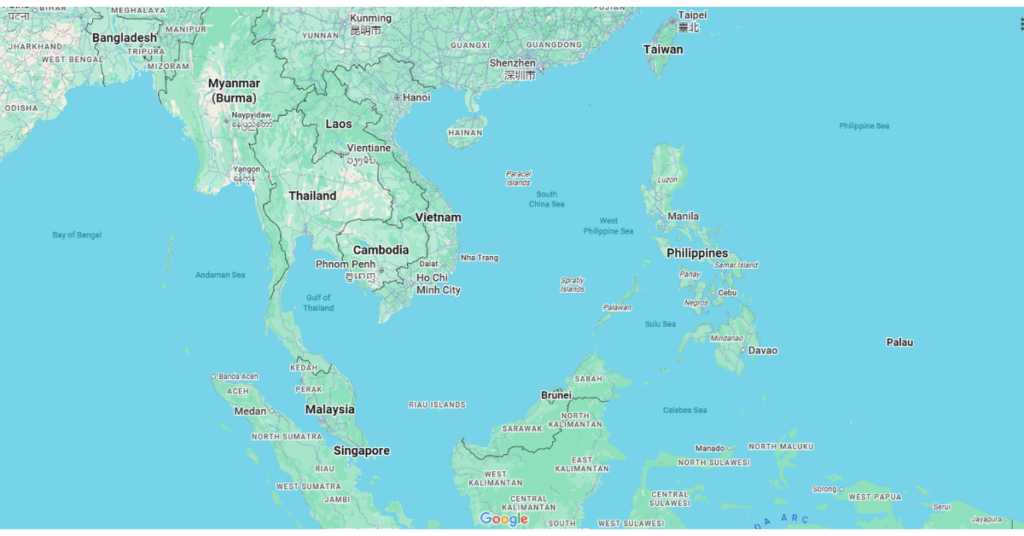
Whether you’re exploring nearby towns or flying across continents, using Google Maps to plan your trip helps you make the most of every moment.
Have You Used Google Maps for Travel?
Share your experience and favorite features in the comments section on mixofdays.com. And if you haven’t tried using it this way before, now’s the perfect time to start mapping your next adventure!
